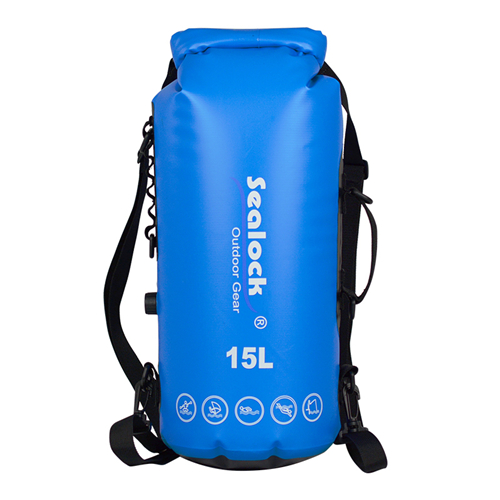
The Process of Designing and Printing a Custom Logo on Waterproof Outdoor Gear
2024-05-21
When it comes to customizing outdoor gear, adding a unique logo is not just a branding opportunity; it also adds a personal touch to your gear. But how does one go about designing and printing a custom logo on waterproof outdoor gear? Here's a step-by-step process to guide you through the journey.
Step 1: Logo Design
The first and foremost step is to create or finalize your logo design. This should be done by a professional graphic designer or a team that understands your brand identity and can translate it into a visually appealing logo. Consider the colors, font, and overall style that best represents your brand. Also, ensure that the logo is scalable and can be resized without losing clarity.
Step 2: Material Selection
Once you have your logo design, it's time to select the material for your outdoor gear. Waterproof fabrics like nylon, polyester, and PVC are common choices for outdoor gear. Consider the durability, weight, and breathability of the material, as well as its compatibility with the printing technique you plan to use.
Step 3: Printing Technique Selection
There are various printing techniques available for applying logos on fabrics, each with its own advantages and limitations. For waterproof outdoor gear, some popular choices include:
Screen Printing: Ideal for larger logos with solid colors. It's cost-effective for larger orders but may not be the best choice for complex designs.
Digital Printing: Allows for full-color, high-resolution printing. It's suitable for complex designs and small orders.
Sublimation Printing: Ideal for polyester fabrics. The ink penetrates the fabric, resulting in a soft, fade-resistant print.
Heat Press or Vinyl Printing: Used for applying vinyl decals or transfers onto fabrics. It's suitable for smaller logos and designs.
Choose the printing technique that best suits your logo design, material, and budget.
Step 4: Logo Application
After selecting the printing technique, it's time to apply the logo to your outdoor gear. This process will vary depending on the technique chosen. For example, screen printing involves stretching the fabric onto a frame and using stencils and inks to apply the logo. Digital printing, on the other hand, uses inkjet printers to print the logo directly onto the fabric.
Step 5: Quality Control
Once the logo has been applied, it's crucial to inspect the final product for any errors or defects. Look for any misalignments, color inconsistencies, or print issues and have them corrected before proceeding with the next step.
Step 6: Testing and Durability Checks
Since outdoor gear is exposed to harsh conditions, it's essential to test the durability of the logo. Wash the gear according to the manufacturer's instructions and inspect the logo for any fading, cracking, or peeling. If there are any issues, you may need to refine your printing technique or material selection.
Step 7: Finalization and Delivery
Once you're satisfied with the quality and durability of the logo, it's time to finalize the order and prepare for delivery. Ensure that all the gear is packaged securely to prevent any damage during shipping.
In conclusion, designing and printing a custom logo on waterproof outdoor gear involves several steps, from logo design to material selection, printing technique selection, logo application, quality control, durability checks, and finalization. By following this process, you can create unique and durable outdoor gear that showcases your brand in the best possible way.


